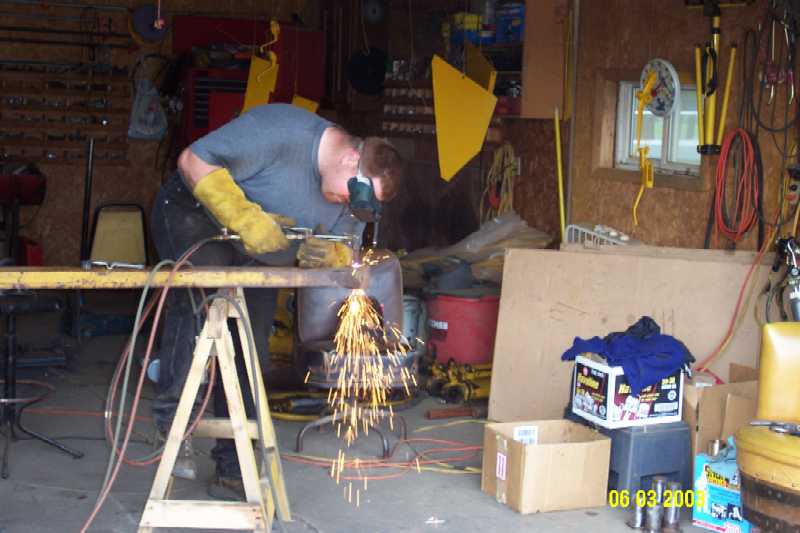
  The
old pins and bushings where the bucket mounts were worn out and so we had
to make new ones. The
old pins and bushings where the bucket mounts were worn out and so we had
to make new ones. |
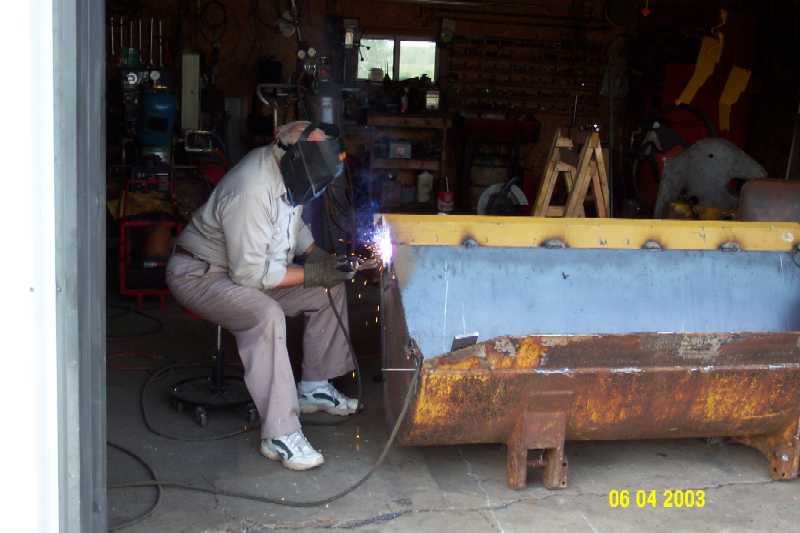
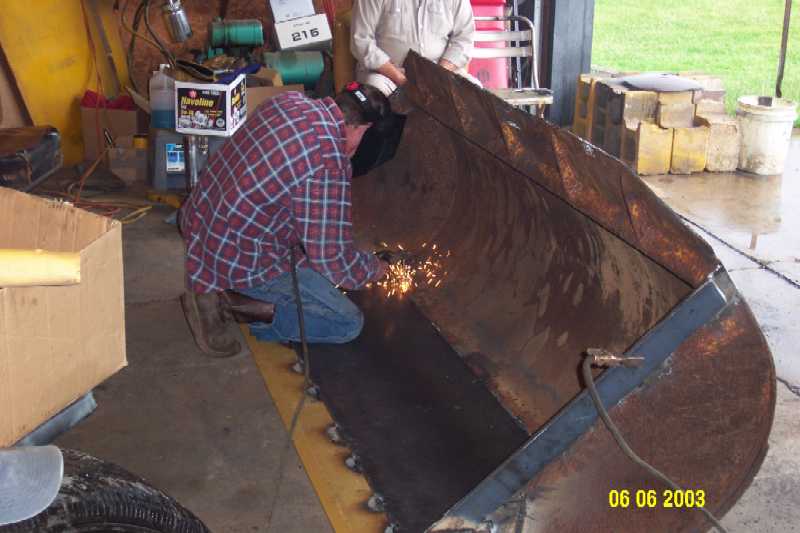
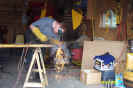
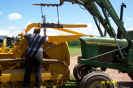
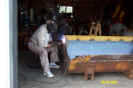  We
removed the old cutting edge and floor of the bucket and put on new. Here
is our Dad and a friend welding on it for us. We
removed the old cutting edge and floor of the bucket and put on new. Here
is our Dad and a friend welding on it for us. |
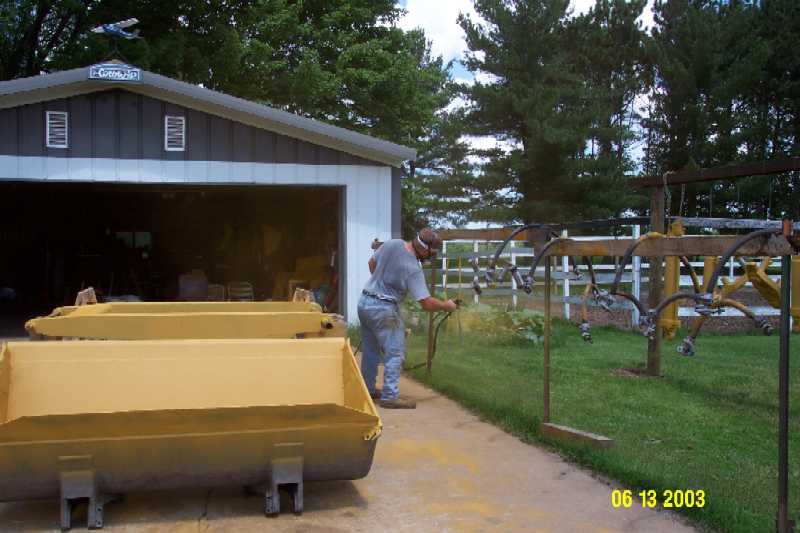
 The
loader arms, dump arms and bucket are getting sandblasted. The
loader arms, dump arms and bucket are getting sandblasted. |
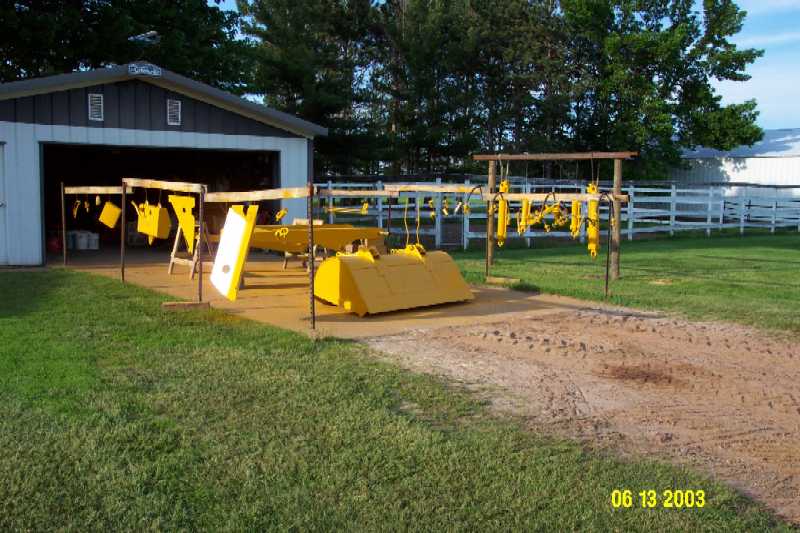
  And
here they along with the rams, hood, oil tank and various shields are
primed and painted. And
here they along with the rams, hood, oil tank and various shields are
primed and painted. |
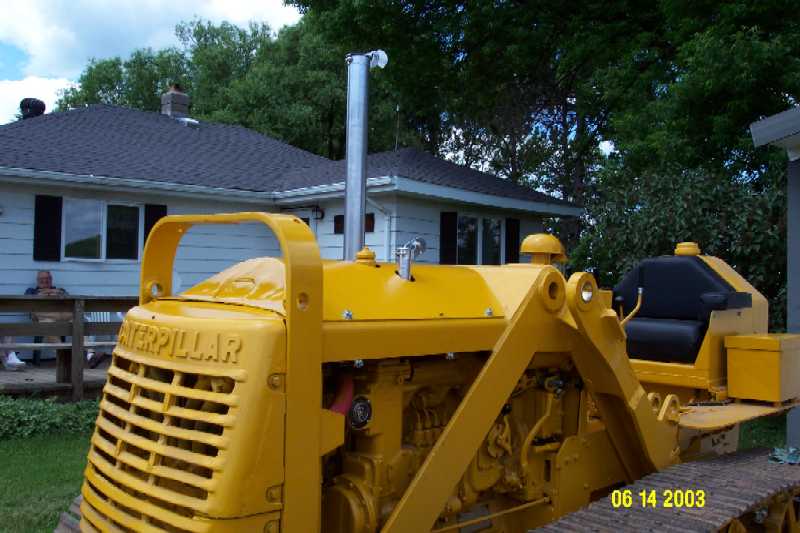
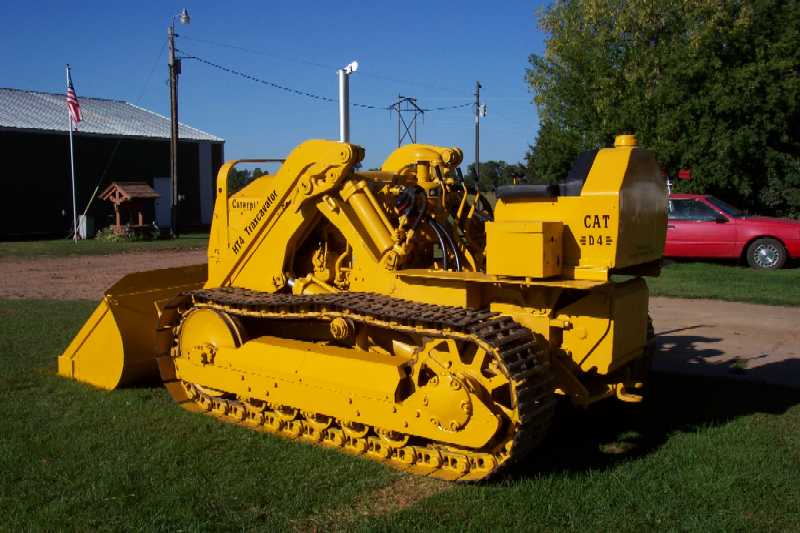
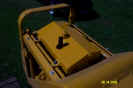  We
didn’t like the way the exhaust pipe from the pony engine ended under
the hood, so we cut a three inch hole through the hydraulic oil tank and
hood and extended the exhaust pipe out through the hood. The exhaust
pipes and hood have been installed. We
didn’t like the way the exhaust pipe from the pony engine ended under
the hood, so we cut a three inch hole through the hydraulic oil tank and
hood and extended the exhaust pipe out through the hood. The exhaust
pipes and hood have been installed. |
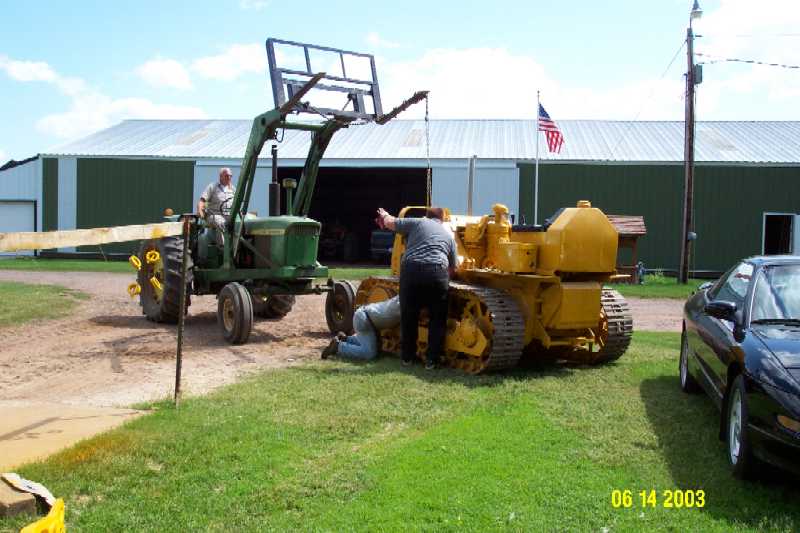
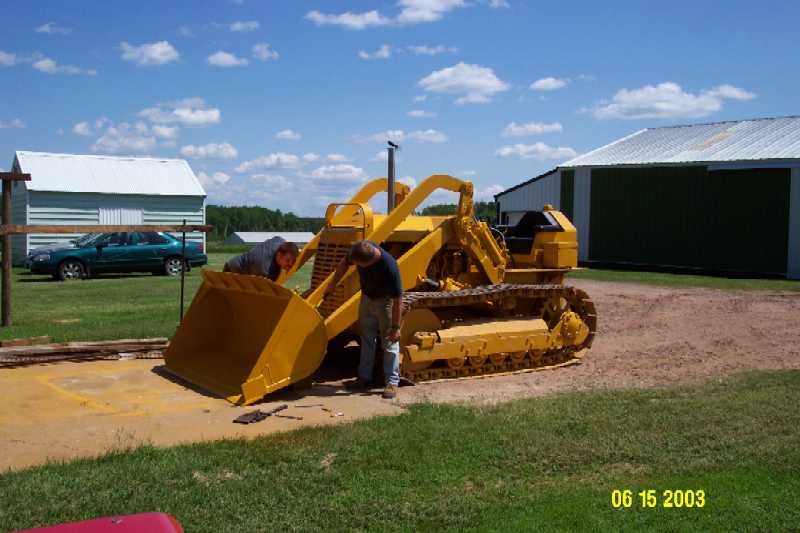
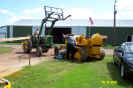 The
loader rams were difficult to install. They are very heavy so we had to
use a loader to lift them and then we guided them into place. The
loader rams were difficult to install. They are very heavy so we had to
use a loader to lift them and then we guided them into place. |
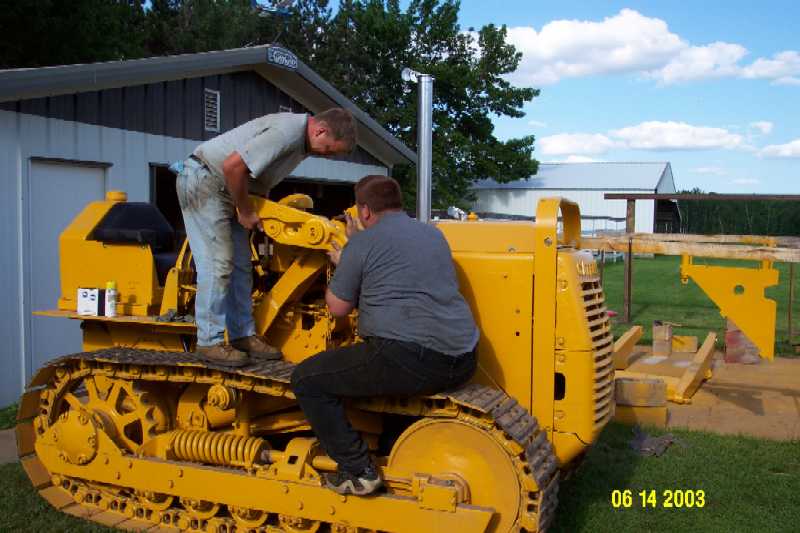
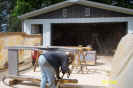
 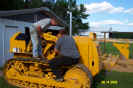 We
had to replace the upper loader arm bushings and build up the pins. Here
we are making sure that the pins fit before we try to attach the loader
arms. The main loader arms and dump rams were the next to be
installed. We
had to replace the upper loader arm bushings and build up the pins. Here
we are making sure that the pins fit before we try to attach the loader
arms. The main loader arms and dump rams were the next to be
installed. |
 The
dump arms are being installed. The
dump arms are being installed. |
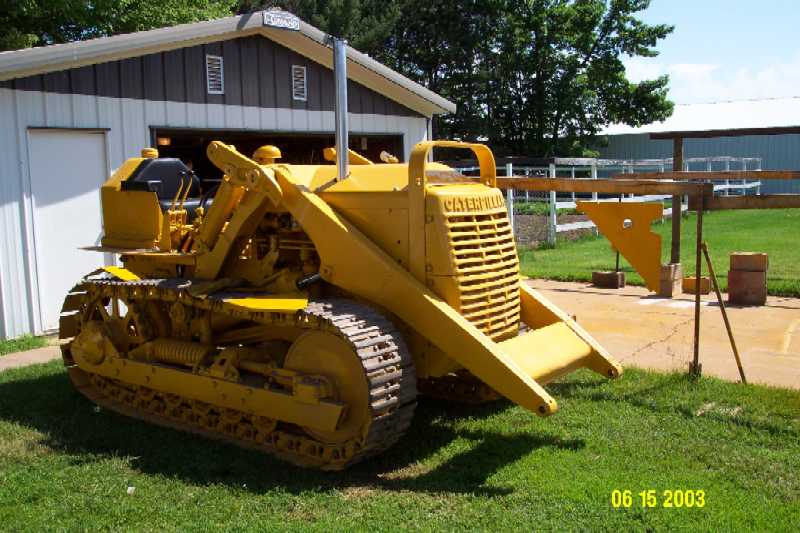
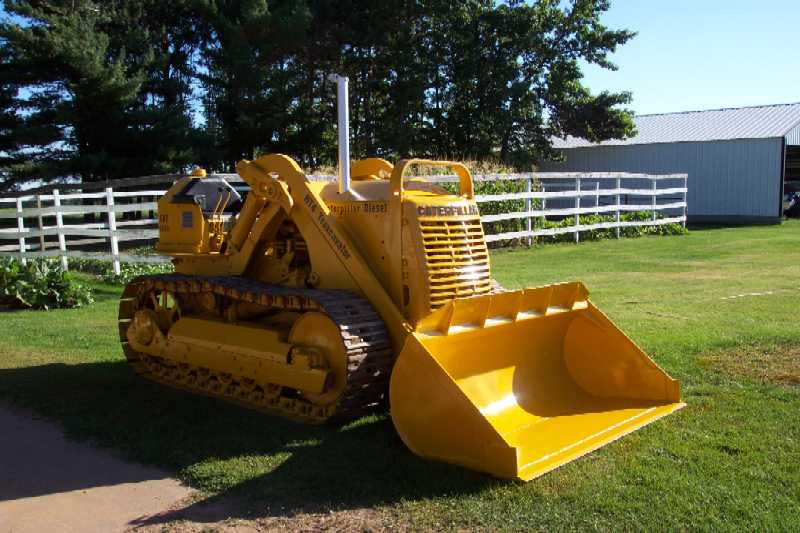
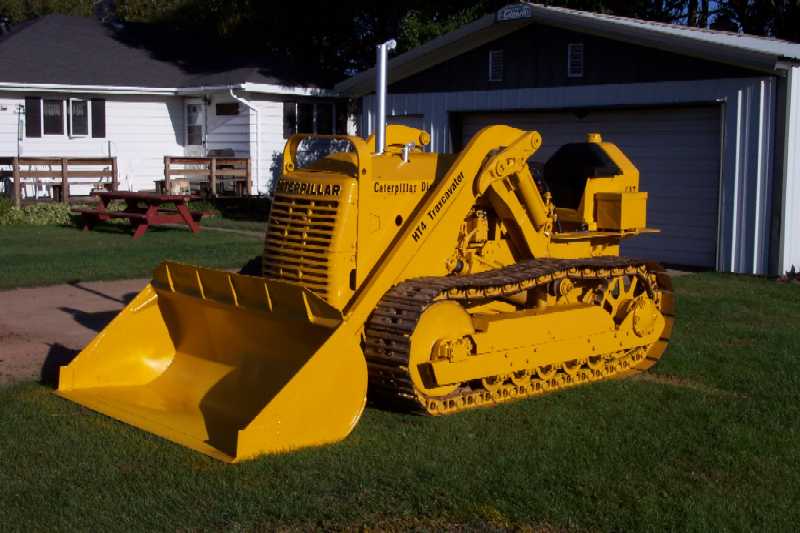
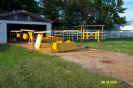
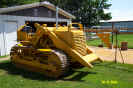
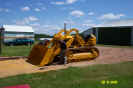 Finally
the bucket is installed. Finally
the bucket is installed. |
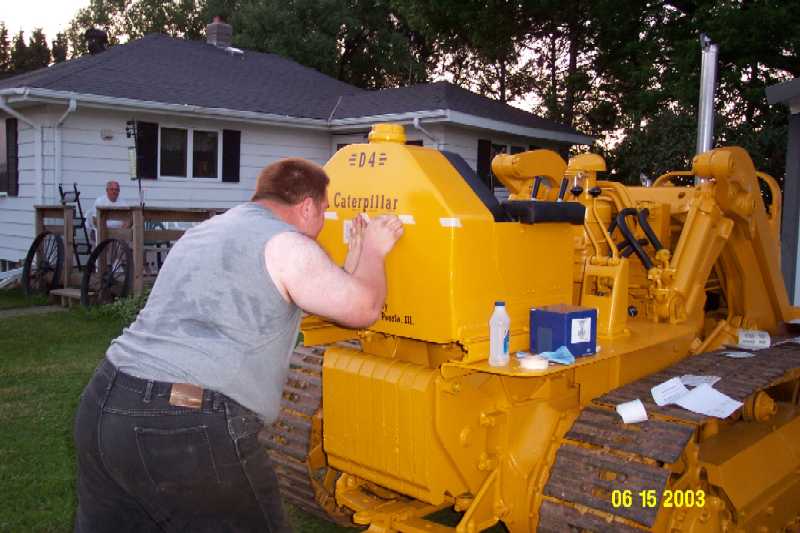
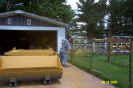
 All
that is left are the decals. All
that is left are the decals. |
|